
I like Tex-Mex, but I think I really have to be in the right mood for it. Last night I made fajitas for the first time ever, and the moment was just absolutely right, so they were extremely satisfying to eat. I remember really digging on the fajitas at the Lone Star Fajita Grill in Buffalo growing up, and I felt like the fajitas I made captured the essence of those fajitas pretty nicely. Plus, when you make fajitas at home, you get to assemble them as you eat them, and that's the kind of food interactivity I really enjoy--I just think there's something very satisfying about that first bite of a lettuce wrap or fajita you just made yourself. Also, that way, you get to decide the exact ratio of ingredients--like, say, the ratio of lettuce to chicken that you want in your fajitas.
So without further ado, let's make some fajitas.
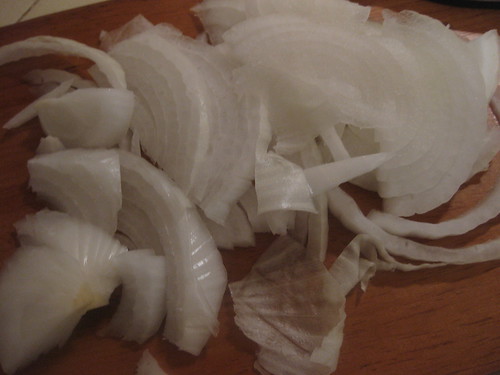
To start out, you're going to need a red bell pepper and half an onion. If you love onions, use the whole thing, but I find them to be fairly strong-flavored, so I just stick with half. You'll get onions in every bite either way. Lay your onion flat and slice it up; core your pepper, wash out the seeds, and slice that up, as well. You might say we're really getting to the core of things, now. If you really loved puns, that is--I don't know anyone who would fit that description here. Certainly not the writer of this blog!
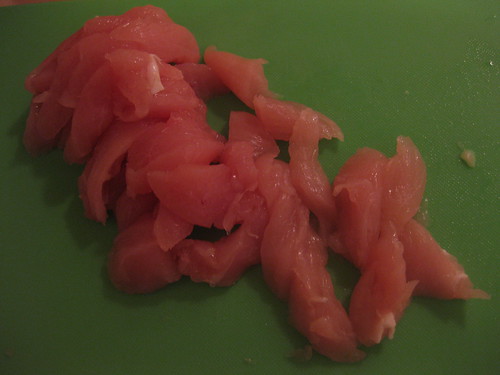
Slice up a few boneless, skinless chicken breasts or tenders into strips, cutting with the grain.
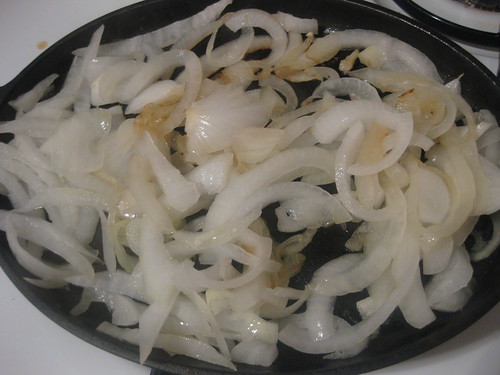
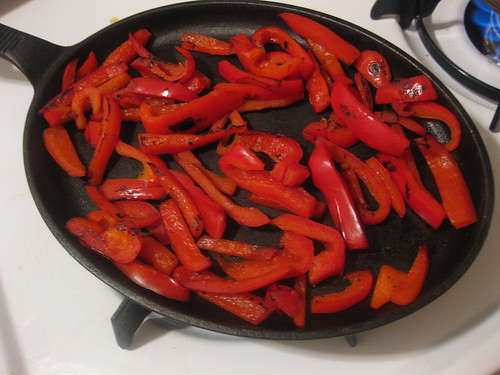
In a cast iron skillet, brown your onions and peppers. You want the onions softened and caramelized, and the peppers blistering but still offering the slightest crunch when bitten into. After they're done cooking, remove them to a bowl. Cook them simultaneously if your pan has the space; I was using a cool little fajita skillet so I didn't really have space to cook them at the same time. (Which was fine by me, because that little skillet worked very well, and was fun to cook with, and just added to the whole restaurant fajita experience, like when you go out and order fajitas and they arrived to your table sizzling in a skillet. So much of food is about the aesthetic side of things, so I found that this pan to really made this meal more special.)
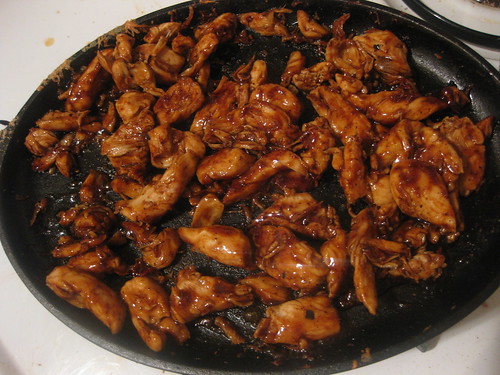
Set aside your peppers and onions and cook your chicken through. Use any spices traditionally associated with Mexican food that you like. You could rub them on in advance if you wanted. What I did was mix up the spices and set them aside, and then stirred them in with the chicken as I deglazed the pan. Deglazing is a very useful technique and a nice way of getting every iota possible out of your proteins.
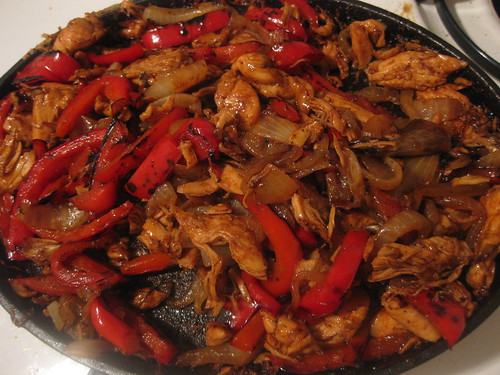
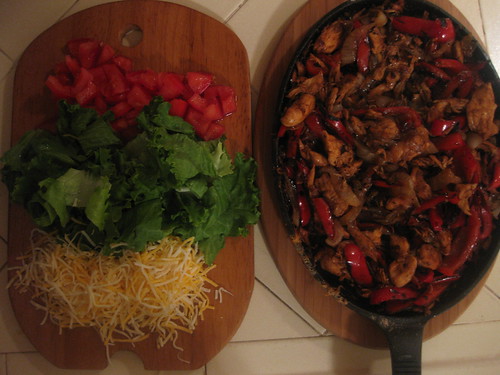
Next, add the peppers and onions back to the pan so they can heat back up. While that's going on, clean and chop up some lettuce and a tomato, and warm up a few flour tortillas. Plate those, and then remove your chicken (or other protein)/peppers/onions mixture to a plate.
The finished product. Instead of removing the cooked food from the pan, I just used the wooden rest that the fajita pan came with. If you don't have one of those, a regular plate will work well, but if you do, it certainly adds to the experience. Enjoy!

Thanks for stopping by Beach City Cooking, and I'll see you all tomorrow for another edition of Wednesday Brunch. Have a great night, and stay cool!
No comments:
Post a Comment