
Greek Revised 01
February 16th, 2010
by Maria Koumentakos
Hey guys! This is my first article here on Beach City Cooking. I’m very excited and honored to have been asked to write it. I’ll be writing a monthly column featuring a Greek recipe I like that I’ve modified to my tastes or one that I’ve never made and always wanted to try. A little background info about me:
I’m a Panamanian born Greek, I’ve been raised on Greek and Panamanian food and being interested in cooking from a very young age, I’ve had extensive experience with Greek cuisine. By living here in Panama, my style of Greek cuisine had to adapt and mold to the ingredients available (or unavailable) to us here as well as the personal changes we have made over time to otherwise traditional meals. I’m looking forward to be showing you guys every month the things I’ve learned from my mother, my main teacher of Greek cooking, and also anything I’ve learned on my own as well.
My first recipe will be a famous Greek classic, the Pastitsio. I love Pastitsio; it very well might be one of my favorite foods. The only problem I’ve ever had with it is its richness. Containing ground meat, béchamel sauce, different spices and seasonings, tomato sauce and pasta, it makes for a heavy meal. So I decided a while back I’d give it a try using ground chicken instead of ground beef, fat free milk for the béchamel, and I omitted the butter in the béchamel too.
My modifications, while not quite making it a low calorie dish I think make it much healthier and low in fat. Definitely not a meal that will have you reaching for the antacids or go straight to your thighs (if you watch your portions).
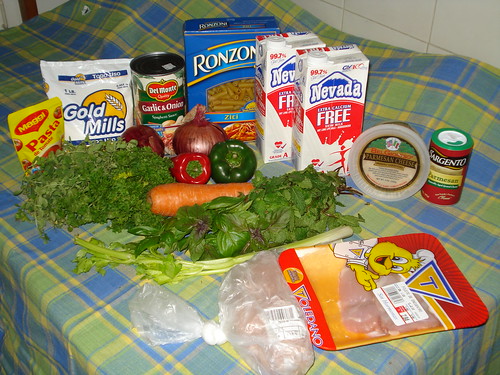
First, these are pretty much all the things I use in this recipe. Some of them are not pictured, but you’ll see them as I go through the process. As you can see, this dish calls for many ingredients. Some of which have been an impromptu addition to the recipe by my mother and me like the culantro, the mint, the spaghetti sauce, and the bay leaves, I think. A little fact that many dislike about the preparation of this meal is the degree of difficulty. Well, it’s not so much the difficulty but the amount of work you need to put into it in order to make it. For instance, it took me about two and a half hours. Sometimes it takes me longer because I’m slow doing the prep work, but I think it’s well worth the wait because it is delicious.

Alright, first things first. The prep work (the most boring part for me). Peel and/or wash a carrot (1 large), celery (1 stalk), bell peppers (1 small red, and 1 small green), red onions (two medium), garlic cloves (about 4) and herbs (1 fistful of fresh basil, 1 fistful of fresh oregano sprigs, 1 fist-sized bunch of parsley, and about two or three sprigs of spearmint). Remove the stems from all the herbs.
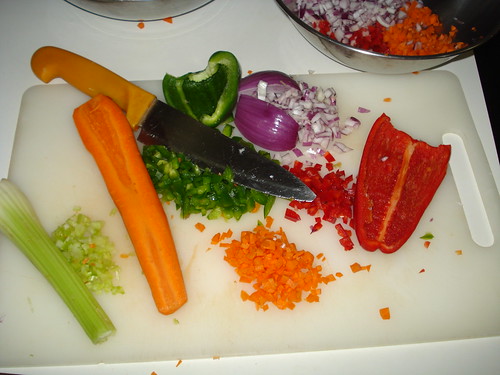
Then comes the chopping… you want to finely chop everything (unless you like chunky vegetable pieces in your food). Sometimes if I want to speed things up I cut up everything in even pieces and I throw it in the food processor, pulse a couple of times, and it does the chopping for me. This is also a good way to quickly chop the parsley.
You’ll need 1 pound of ground chicken breast and 1 pound of ground deboned chicken thighs. If you can’t get it ground, you can use the food processor for this.
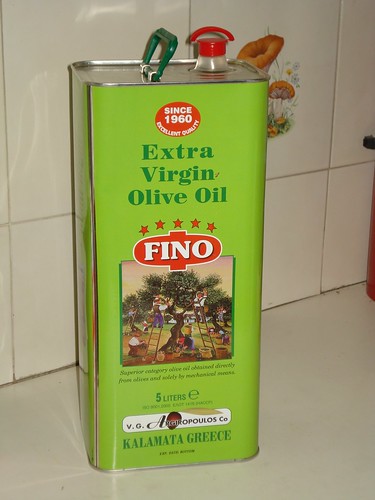
Once I get done with the prep, I immediately get started on the sauce. The first thing I do is brown the chicken. Heat up a large pot and add two tablespoons of extra virgin olive oil. I value highly a good quality olive oil, because seriously, what is Greek food without it? When I have to buy from the store, I get Eleatis Extra Virgin Olive Oil, it’s the best brand I’ve been able to find here in terms of flavor, freshness and quality. My dad actually orders our olive oil by the gallon, so I’m pretty much covered and seldom I’ve had to buy from the store. We always have a steady supply here in my house; the brand is Fino Extra Virgin Olive Oil. It is very good in quality and it comes from Kalamata which is my mother’s hometown (and where Kalamata olives come from).

Anyway, as I was saying, heat up a large pot on high heat and add two tablespoons of extra virgin olive oil.
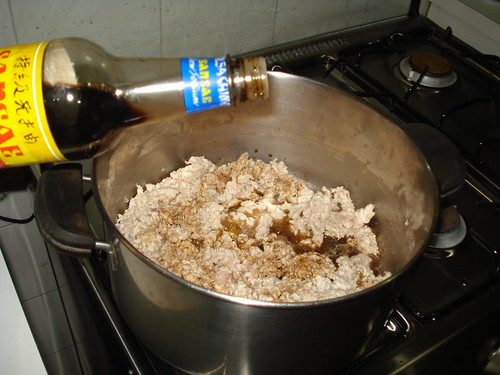
When it’s slightly fuming, add the chicken and stir it so it doesn’t stick to the pot and until it’s loose. Then season it with a generous amount of soy sauce (you can add as much as you like and then not add any salt to the sauce, that’s what I usually do because I overdo the soy sauce). Stir occasionally until the chicken is a bit brown and its juices have evaporated. If you feel like it’s burning or browning too fast you can lower the heat and add a little bit of water to deglaze the pot (which is what I did).
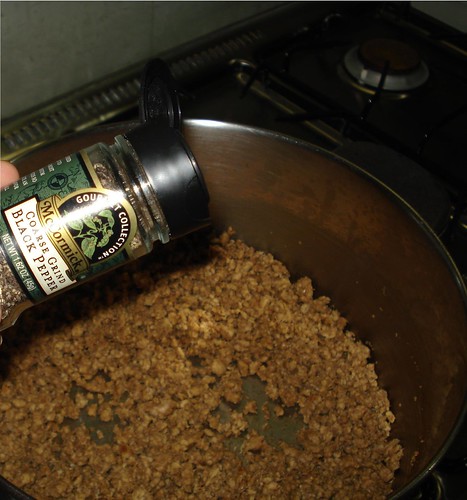
Once it was browned I remembered I had to add the pepper, but you can add it with the soy sauce, or later on.
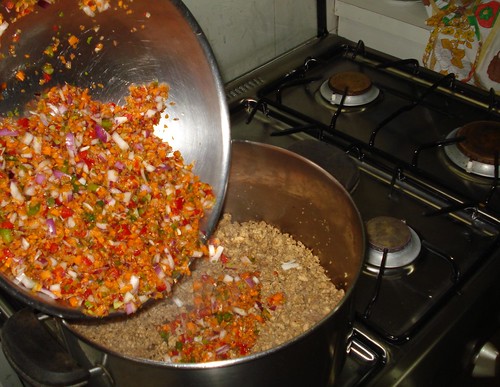
Then, when it was nice and brown, I added the chopped vegetables. They look all mixed up like that because I did the rest of them in the food processor all together.
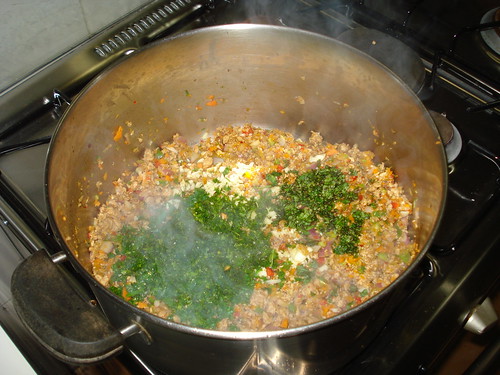
After adding the veggies I stirred it well, and sautéed it with the chicken for about five to seven minutes. I then added the parsley with the mint and stirred it for a couple of minutes.
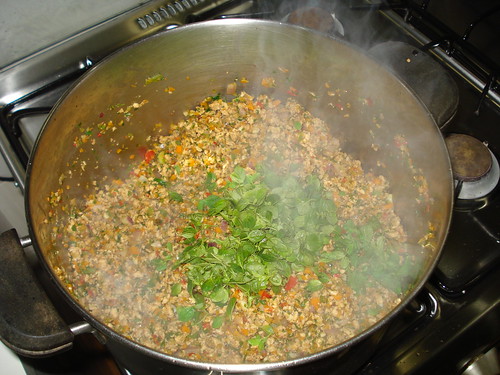
Next I added the oregano leaves, which were about ¾ of a cup of fresh oregano and I do mean fresh! If you want to use dried use about a tablespoon or less because dried herbs are more concentrated than fresh.
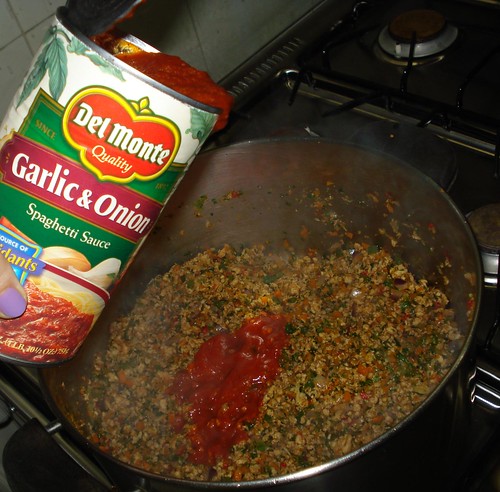
After adding the oregano I stirred it for about two more minutes and then I started adding the spaghetti sauce. It was 1 can of Del Monte Spaghetti Sauce Garlic and Onion (if not available, you can use other flavors of spaghetti sauce like bell pepper or mushroom).

And right after, the tomato paste (about 3 tablespoons).
Once I added my tomato products, I stirred the sauce well and then I added 3 and ½ glasses of water. It is very important that the sauce gets enough water because if it’s too thick the pasta won’t absorb much sauce or flavor and you end up with a dry and bland pasta layer. Three regular-sized glasses of water usually does the trick. If you feel that the sauce is too thick you can add more water later, or if you feel that you made it too watery then cook a little bit longer until it evaporates.
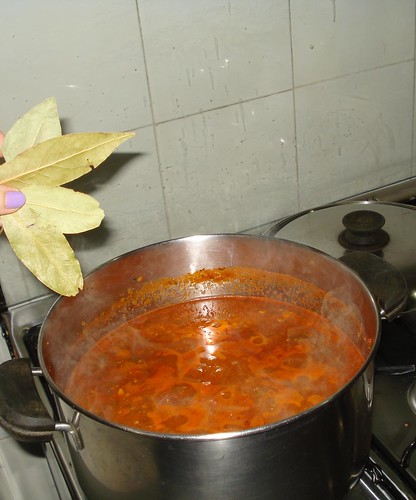
After that, I added the 4 bay leaves.

Then I remembered to add the 4 culantro leaves which I finely chopped. I really like what culantro does to this dish, and meat dishes in general. It’s amazing in chili or bean soup. Culantro is a Latin American parallel to cilantro–it’s in the same family but has a more pungent taste. If you can get culantro instead of cilantro then go for it. Since I forgot to take a picture of it, that picture will have to do.
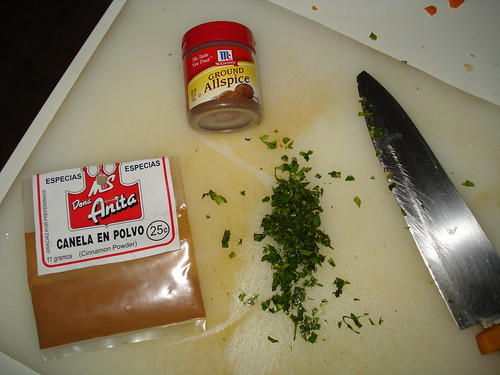
And here’s what they look like when they’re chopped, next to the cinnamon and allspice I used.
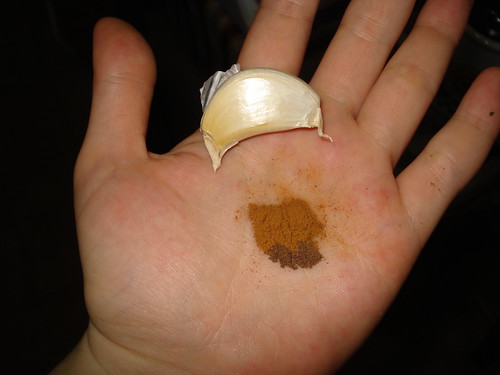
This is more or less the amount of cinnamon and allspice I start out with (with the garlic clove for scale purposes). I usually add a bit more cinnamon pinch by pinch very carefully until I achieve the perfect amount of cinnamon-y background taste I need. After the culantro I added the cinnamon and allspice.
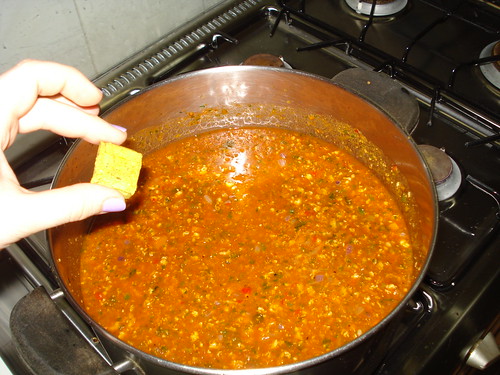
And last but not least, a boullion cube. I used a Maggi boulion cube. I like them better than Knorr.
All the sauce needs now is some time to stew and meld all the ingredients together… so, once it was boiling, I set the flame on medium/medium high and covered the pot.
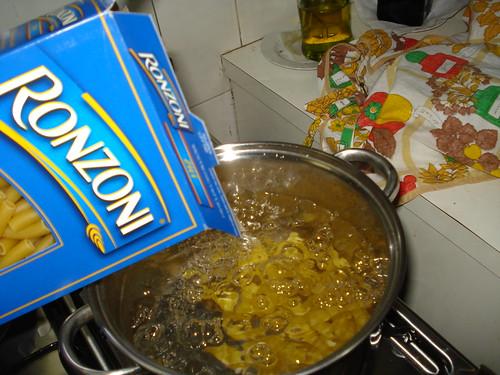
While I waited for the sauce to get done, I got the pasta going. I used one pound of pasta, Ziti in this case. It can be virtually any kind of pasta you like but I prefer any kind of pasta with holes in it. First get water in a medium pot and set it on high heat. I usually fill the pot ¾ through when making 1 pound of pasta. (Maybe I’m being too “play-by-play” telling you how to make pasta and all, not that I think you’re dumb or anything, I just like the step-by-step thing). Then when the water is boiling, add 1 tbsp of salt and stir. Then add the pasta and stir well. These Ziti took 10 minutes to be al dente. It’s very important that you don’t overcook the pasta.

When the pasta is cooked and drained, drizzle some olive oil on the Ziti so they don’t stick together and set them aside.
When the sauce is going and the pasta is done, I start the béchamel. And here comes an interesting part. If you’ve tried making béchamel sauce before, then you’ll know what I’m talking about, it’s very tricky to get it right. The traditional recipe calls for browning the flour with butter, and stirring, and stirring, and stirring to no end. Then try to add hot milk to it and see if it won’t turn into a big lumpy mess. If you’re an experienced cook or a chef maybe you can get it right every time, but if you’re not, then you’ll probably suffer more than once with this tricky tricky sauce.
Anyway, my mother came up with a very smart solution. She adapted the recipe of dessert custard into a variation of béchamel. This way it’s much easier to get a smooth and creamy sauce that is simpler to make and to get right with the first try. Don’t worry it won’t turn out too custardy when it’s cooked. It virtually has no difference with regular béchamel both in appearance and taste. It’s been approved by Greek people (all of my mother’s friends who’ve hounded her for her secret for years).
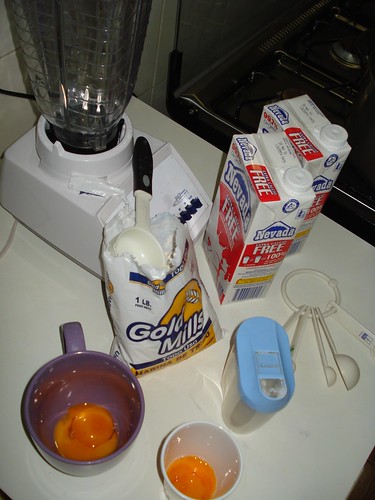
I gathered my supplies first (two liters of milk, a cup and a half of flour, four egg yolks divided in two containers, and salt).
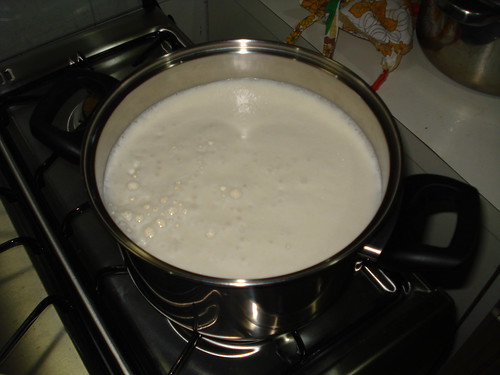
This is what I did: I put one liter of milk in the blender, added two egg yolks, half a teaspoon of salt and ¾ of flour and blended it together. Then I poured the mixture in a medium sized pot. I did the same with the other liter of milk and the rest of the ingredients and poured that in too. You should do this, unless you have a really big blender.
Then I set it on medium high heat and (this is important) stirred continuously until it boiled. If you feel that at some point it’s starting to get thicker and sticking to the bottom of the pot, then you can lower the heat and stir a bit harder to unstick the little bits that got stuck on the bottom. When the béchamel starts boiling, if it seems to be getting too lumpy don’t worry just turn it off and stir well, it’ll smooth out. The previous blending of the raw ingredients prevents it from forming lumps.

When my béchamel was done, it was time to turn on the oven (400°F or 205°C) and turn off the sauce. Right after taking the sauce off the heat, make a fine chiffonade with the fresh basil leaves (chiffonade means to thinly slice them) This is what mine looked like (could’ve done it a little finer if you ask me).
Just add the basil in there with the sauce and stir. Adjust the salt if needed and remove the four bay leaves.

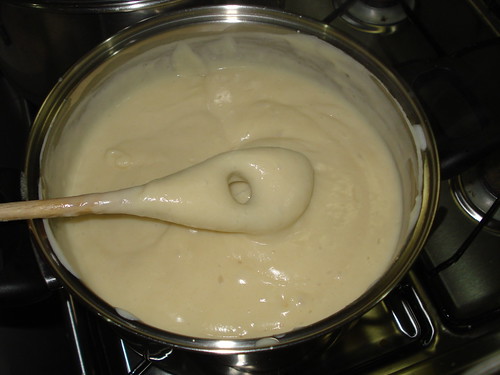
That’s how the sauce will look when it’s ready.

Now comes the real fun. The assembling! First thing I do, I take the pasta and put it in a rectangular baking dish (about 20” long and 12” wide, if I’m not wrong) and I add a generous amount of the finely ground parmesan cheese, then I mix it up so it gets nicely distributed.

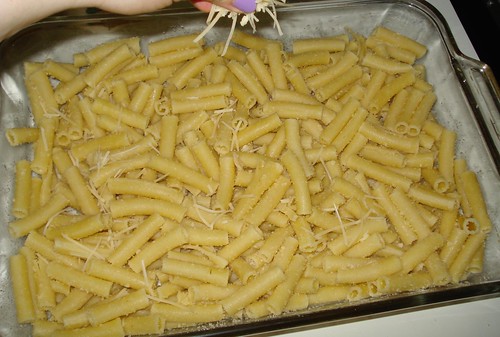
After that, make sure to evenly distribute the pasta layer with the ladle or your hands. Once I do that, I like to sprinkle some of the chunkier flakes of parmesan cheese on top. It gives it more texture I think. (I bought a finely ground one, and a coarsely shredded one for texture).
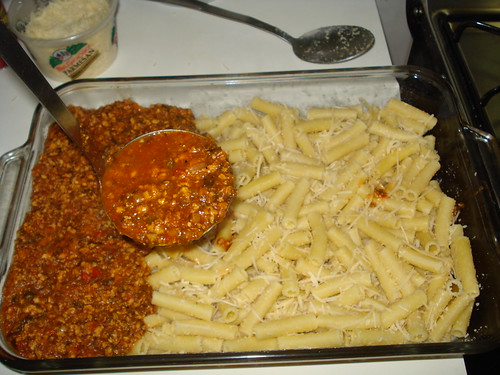
Then I added the sauce. Make sure you cover every nook and cranny with the sauce so as to not leave any holes.

Once I’ve added the sauce, I smooth it out with a spoon so it gets evenly distributed.
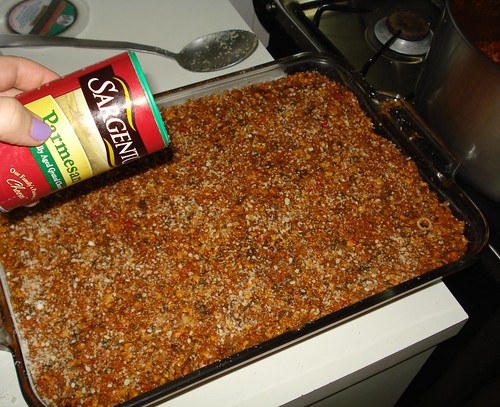
And then I like to sprinkle another layer of parmesan cheese.
All layers of parmesan cheese are semi-generous with the more generous being the first one when you mix it in with the pasta, and the last one where you sprinkle it on top of the béchamel.
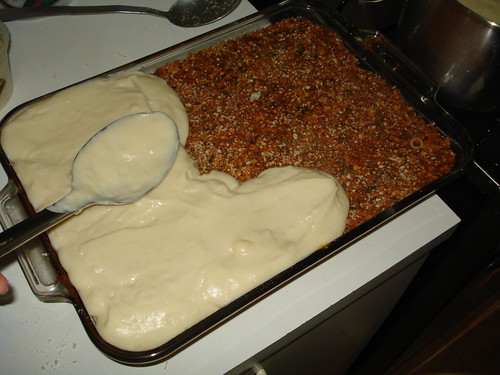
And now the semi-last layer, the béchamel sauce.
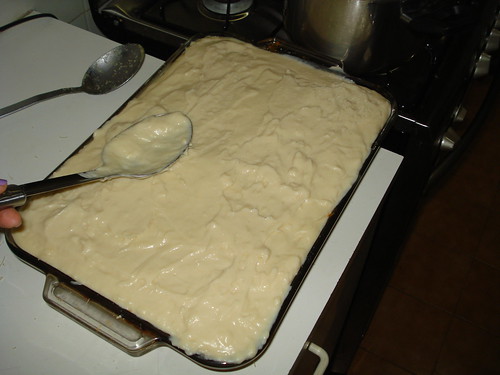
The only thing I’m careful of when adding the béchamel is not mixing it with the sauce layer. I do this by pouring large globs of béchamel over the sauce layer and when I’ve finished filling all the unfilled areas, I smooth it out with a spoon.
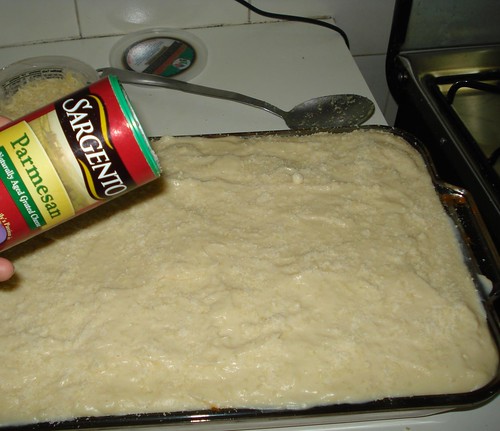
And now? You guessed it… more cheese! For the last layer I like to sprinkle both kinds of the parmesan.
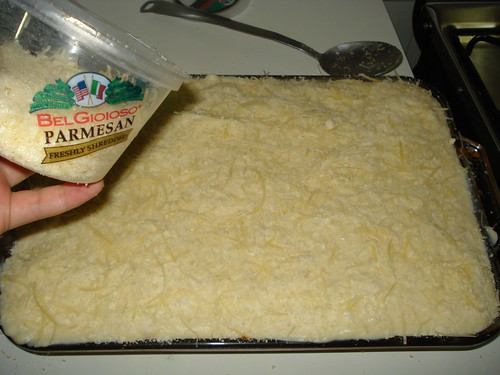
Usually I finish up the little can of Sargento, and then I add some of the more coarsely shredded parmesan on top of that.
What the parmesan cheese does is make an amazing crust that is beautifully golden brown and it adds flavor to the dish as well. The reason why I don’t really add much salt in general is partly because of the cheese, which has its fair amount of salt.
My mom told me yesterday that the traditional method of making this dish actually calls for breadcrumbs on top of the Pastitsio which are supposed to meld with the butter in the béchamel and create a crispy crust. I’m not sure if the traditional way also uses parmesan cheese (or any other kind) but I’ve tried it both ways and I find that the cheese makes it tastier.
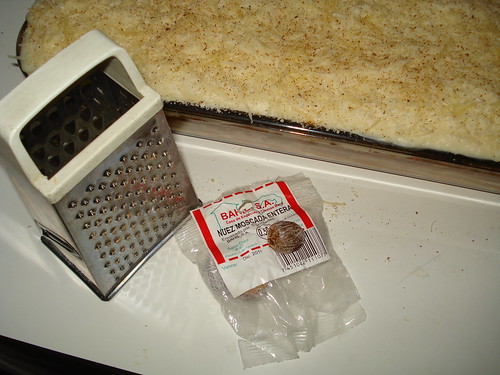
And now, last but not least I grate by hand a nutmeg over the assembled Pastitsio. This gives it a very special kick. My dad taught me this part last year actually, but it is used in the traditional recipe.
When the Pastitsio is all put together, I slide it in the oven I preheated before. It usually takes about 45 min to an hour to finish cooking and get nice and golden on top.
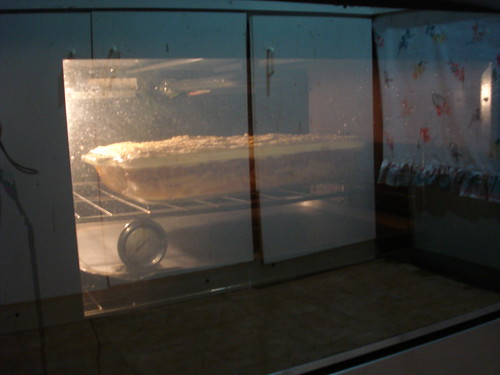
This is it, inside the oven. I hope you can see it well.
Now all you have to do is wait, so go take a shower or read a book, maybe take a nap, but don’t oversleep because if you forget about the Pastitsio it’ll get burned and all that hard work will be in vain.

Spunky and Libby kept me company while I was cooking. I think they were actually waiting for me to drop something but they were out of luck this time.

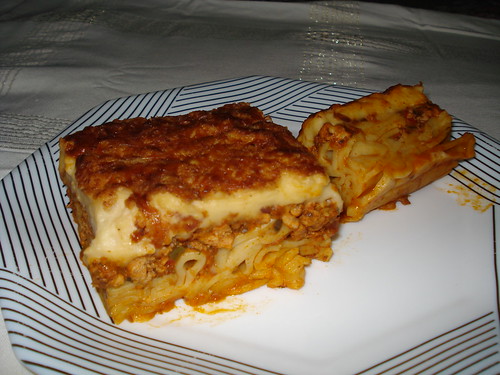
And here it is the finished masterpiece! This is how it looks like when it’s all done *drools*.
And here it is served.
I hope you enjoyed my article and my recipe. I’ll see you next month. Kalí Órexh (Bon Appetite in Greek)!
Enjoyed reading your post. and liked the recipe too.
ReplyDeleteI live in Calgary.Do you have any idea where can i find 'Culantro' here.
TIA
Sneha
I love Greek food and the addition of it to this blog. Can't wait for future posts.
ReplyDeleteHi Sneha, thanks for reading my article and commenting! You can probably find culantro in an Asian grocery store that caters to Vietnamese customers or at a latin grocery store.
ReplyDeleteDios! que ricooooo me pareció una receta fenomenal y lo bueno es que contiene los "vegetales escondidos". Gran receta!
ReplyDelete