
I've been on something of a Mexican food kick lately. I really enjoyed making those flour tortillas a month or so ago, but I've always been more partial to flour tortillas than their corn counterparts. I think that's because I've had corn tortillas far less frequently, and because the ones I have had haven't been particularly excellent. I was leafing through the excellent Tacos book by Mark Miller that I mentioned in yesterday's Tomatillo Salsa post, though, and came across a recipe for homemade corn tortillas that looked easy enough. These tortillas turned out really well, and weren't terribly too much work, although you will get some good exercise out of the process if, like me, you don't happen to have a tortilla press lying around. Okay, onto the recipe!
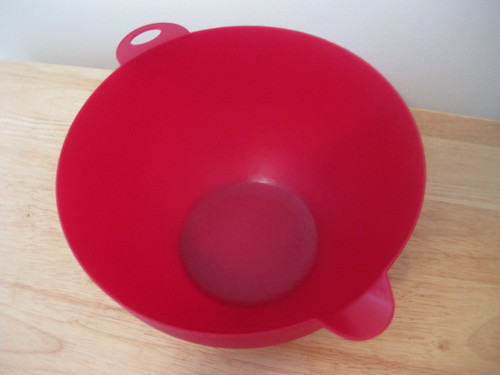
Okay, first you'll need a large mixing bowl.
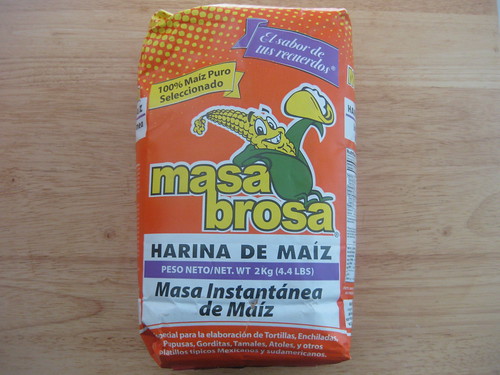
You'll also need some Maseca, also known as instant corn masa flour, pictured above, or some regular old masa harina. I've been able to find masa harina in the past, but not where we're currently living, so we opted for the former flour. You'll need 4 cups Maseca or 2 cups masa harina. You should be able to find at least one if not both of these ingredients in the international foods aisle of your local grocery store, or, barring that, in a Latin American foods speciality shop.
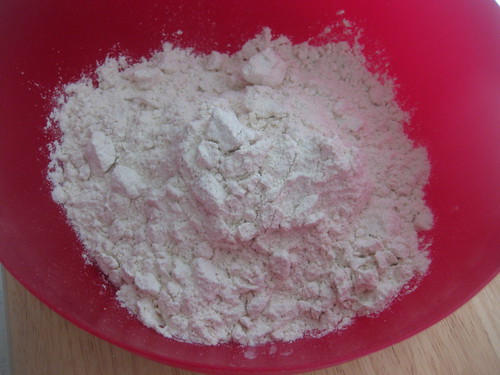
You'll also need 1/2 tsp salt (0r 1/4 tsp if using masa harina). Add that to your Maseca or masa harina in your mixing bowl, along with--
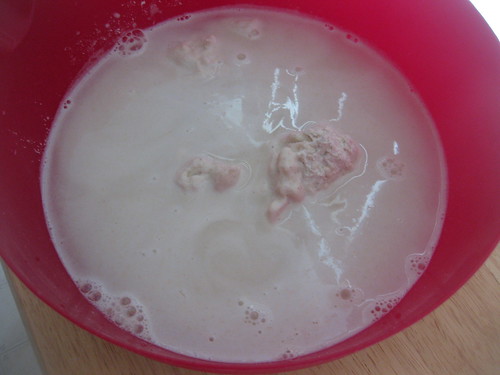
--either 2 2/3 cups plus 4 tbsp warm water (if using Maseca) or 1 1/4 cups plus 2 tbsp warm water (if using masa harina).

Combine with a wooden spoon until soft but no longer sticky. Then cover the mixing bowl with plastic wrap for about an hour, so the water can be absorbed into the Maseca or masa harina, resulting in a denser dough. You'll really be able to tell the difference when you handle the dough afterwards. So, in the meantime, treat yourself to a siesta.
For this next step, you'll need a small bowl of warm water.
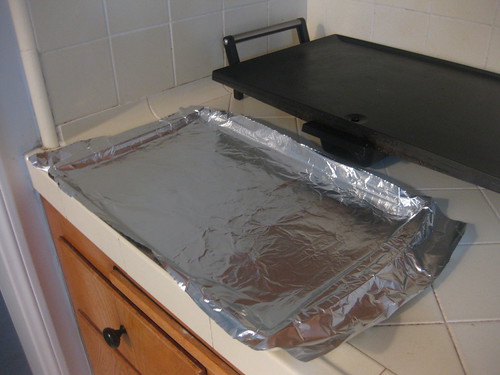
You should also go ahead and line a baking sheet with aluminum foil.
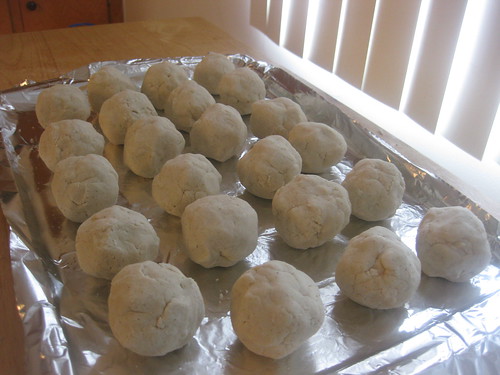
Moisten your hands with the warm water, then form the dough into 24 1.5'' balls, setting each one on your baking sheet. If I know faithful reader and best friend David Plotkin, he's going to count the balls in the picture and find out that there are only 23, so I'm going to just cop to dropping one on the ground and having to throw it out right now. (Hi David!)
Cover your future corn tortillas with a wet kitchen towel, and keep them covered until you're ready to cook them. Then, preheat a griddle or large cast-iron skillet to 350º.
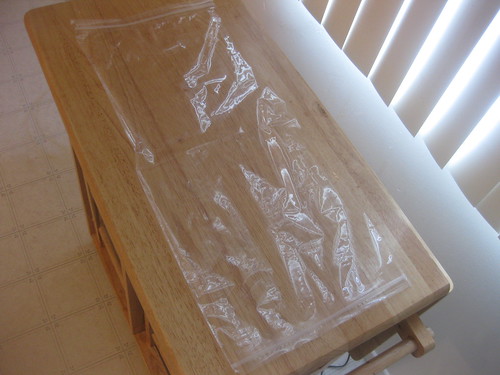
If you have a tortilla press, you can skip the next few steps, because all you have to do is pop the ball of dough into your press and form a tortilla. If you don't have one, though, the recipe provides us with a handy alternative. First, you'll need a large heavy-duty plastic bag, opened and cut along the sides.
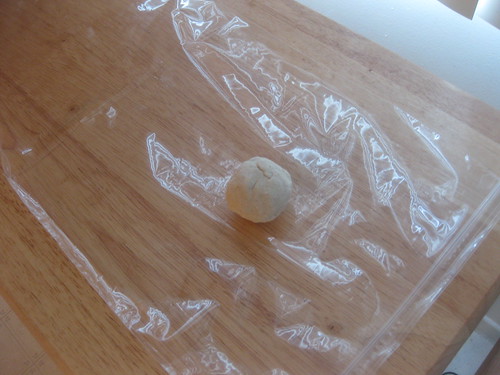
Place one ball of dough on the right side of your opened bag.
Push down on it with your hands until it's about 1/2''-1'' thick.

Then, fold the left side of the bag over the right side, covering the flattened ball of dough.

Using a small saucepan, a small cast-iron skillet (like a fajita pan), or a bacon weight, flatten the tortilla a couple of times.

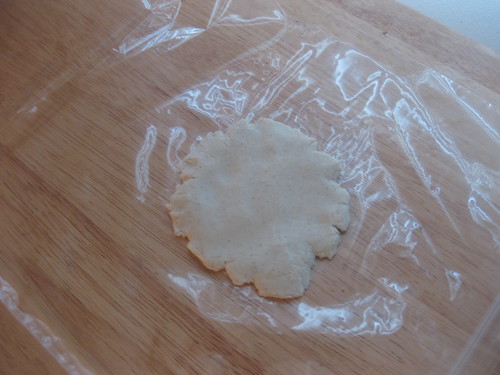
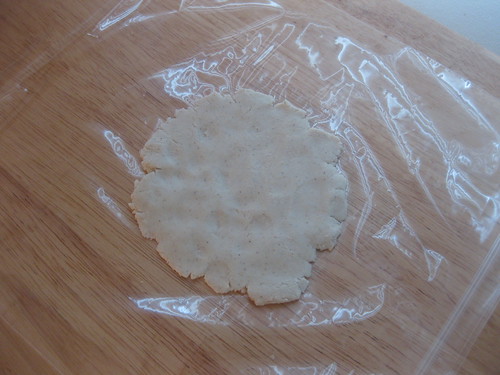
Next, uncover your tortilla and trim off the edges with a small knife to form a circular tortilla.

Cover the tortilla once more, and flatten a couple more times until 1/4''-1/8'' thick.
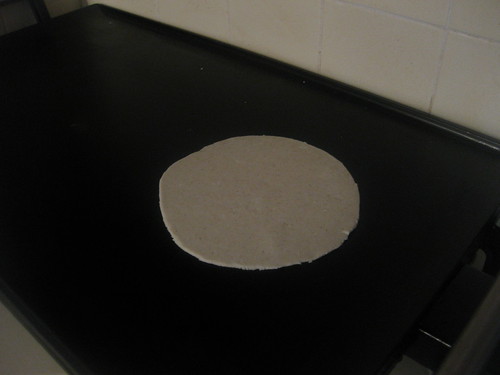
Preheat your oven to 200º. Then place a tortilla on your preheated griddle or skillet.
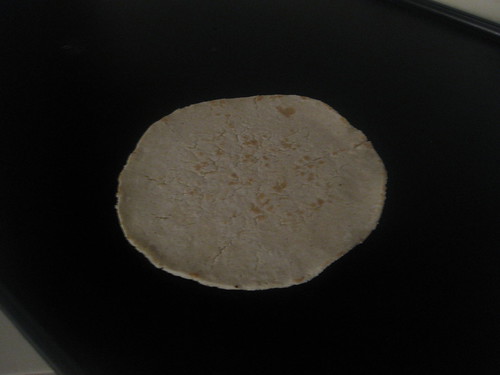
After about 1 minute and 15 seconds, flip your tortilla.
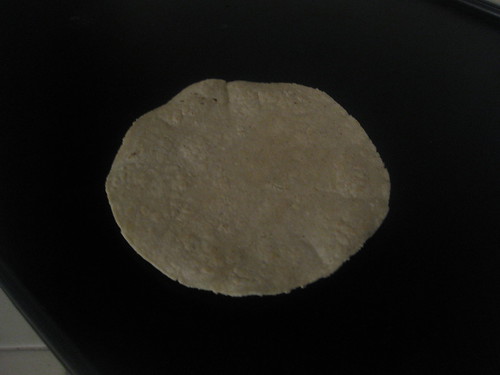
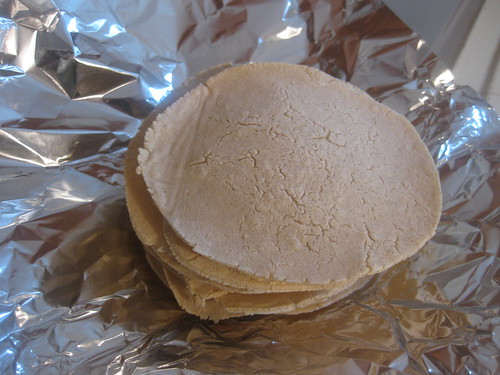
30 seconds more, and it should be all set. Remove it to your preheated oven, wrapped in aluminum foil.
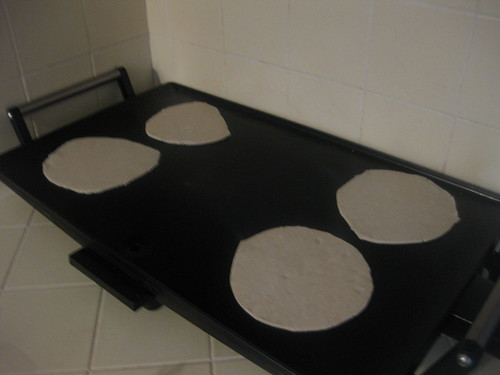
Prepare and cook your remaining tortillas in sets of four; while they cook, begin preparing the next batch.
When they're all done, seal the aluminum foil pouch tightly and remove to your fridge until use. These should keep for about a week. Enjoy!

Thanks for stopping by Beach City Cooking, and I'll see you all very soon for another post. Have a great night, and stay cool!
No comments:
Post a Comment