

In last week's Shrimp and Corn Burger post, I mentioned that if you're a real glutton for punishment, you can bake fresh rolls for your crustacean-based creation. Personally, though, if I have the time and energy for it, I always try to opt for the path of most resistance when cooking. If there's a pre-made ingredient in a recipe, like the wonton wrappers you could use for today's potstickers, I'll usually see if I can make that ingredient at home. This just provides a little extra experience with making a new and different ingredient for me, and usually allows me to whip up recipes more cheaply, too. Because a package of wonton wrappers is definitely more expensive than twice as many freshly made ones. So with this recipe, feel free to follow along and make your own wonton wrappers, or feel free to just buy some and join the pictorial below partway through. Either option will yield delicious results.
If you're planning on making your own wrappers, you'll be shocked to see just how easy they are to prepare. And of course, you can make plenty more than just potstickers with these wrappers--they're pretty much all-purpose thicker wonton wrappers. For both the dumpling wrappers and the potstickers themselves, I used this great recipe from About.com's Chinese Food page. That recipe yields 48 dumplings, though, so feel free to halve or quarter (as I did) the recipe as needed. 12 dumplings, along with a small salad, was plenty for a smaller-size meal for two people.

Prepare the dough with flour and boiling water in a 2:1 ratio, then roll it flat and fairly thin.

Use a can to create circular cut-outs of the dough, and set those aside. With the remaining scraps of dough, roll those back up into a ball, re-flatten with a rolling pin, and create more cut-outs.

If you've quartered the recipe, you should successfully have 12 or so circles of dumpling dough. That wasn't so bad, was it? You'll be a dumpling wrapper pro in no time!

Next, prepare your filling. I passed opted for boneless chicken thighs instead of the ground pork suggested in the recipe. I diced these into small pieces in order to ensure that they would have a quick cooking time and mix together with the other ingredients easily. A bowl full of uncooked pieces of chicken doesn't make for the world's most appetizing picture, so let's skip that one. Take about a 1/2 tablespoonful of your mixture, place it in the center of a wrapper, and then seal your wrapper with wet fingertips, pinching the exterior of the wrapper to create the effect you see above.

When you've assembled all of your dumplings, take a bow.
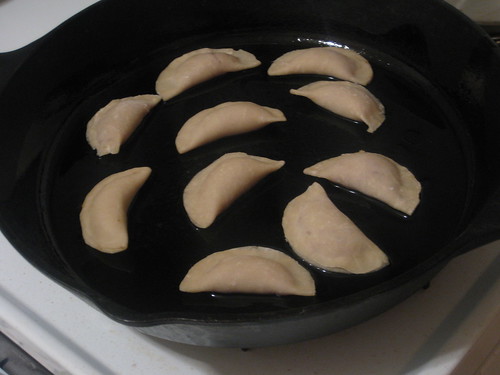
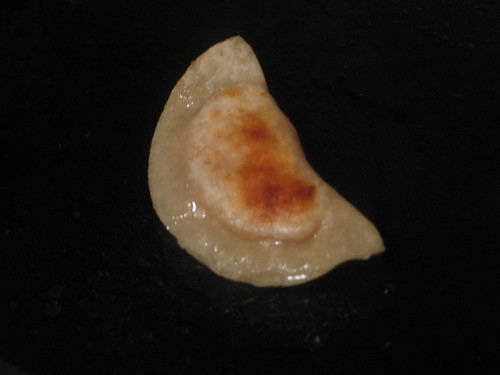
Take out your trusty cast-iron skillet, turn the flame to medium-high, add a little oil, and begin to pan-fry your potstickers. It should take about 4 minutes for them to get nice and browned, and crisped up underneath.

Add 1/2 cup water, carefully cover your skillet, and cook for about 7-8 minutes on high heat. They should be done when the water's fully absorbed, but be sure to make sure they're fully cooked before you dig in.
You can dip these in soy sauce, or a mixture of soy and a little sesame oil. Enjoy your potstickers!

Thanks for stopping by Beach City Cooking, and I'll see you all very soon for another post. Have a great night, and stay cool!
Great dish! I will try it. Thanks for sharing the recipe.
ReplyDelete